Docker in the Cloud
Different ways to launch Docker containers in Cloud providers.
Introduction
The key benefit of Docker is that it allows users to package an application with all of its dependencies into a standardized unit for software development. Unlike virtual machines, containers do not have the high overhead and hence enable more efficient usage of the underlying system and resources. We are to use virtual machines (VMs) to run software applications. VMs run applications inside a guest Operating System, which runs on virtual hardware powered by the server’s host OS. Containers take a different approach by leveraging the low level mechanics of the host operating system, containers provide most of the isolation of virtual machines at a fraction of the computing power. Please refer to https://www.docker.com/get-started
Terminology
Let´s clarify some terminology that is used in the Docker ecosystem:
- Images - The blueprints of our application which form the basis of containers. In the demo below, we use the docker build command to create an image.
- Containers - Created from Docker images and run the actual application. You create a container usually using docker run command. In the demo below, we are using Cloud Run for this.
- Docker Daemon - The background service running on the host that manages building, running and distributing Docker containers. The daemon is the process that runs in the operating system to which clients talk to.
- Docker Client - The command line tool that allows the user to interact with the daemon.
- Docker Hub - A registry of Docker images. You can think of the registry as a directory of all available Docker images. https://hub.docker.com
- Docker registry - A Docker registry allows you to share your custom base images within your organization, keeping a consistent, private, and centralized source of truth for the building blocks of your architecture. For this post, I use the Google Cloud container registry.
Dockerfile
A Dockerfile is a simple text-file that contains a list of commands that the Docker client calls while creating an image. It is a simple way to automate the image creation process. To start, create a new blank file in your text editor and save it in your working directory. Let’s use the Dockerfile from the demo below.
We start with specifying our base image. Use the FROM keyword to do that. In this case, the Node.js version 10 base image.
FROM node:10
The next step usually is to write the commands of copying the files and installing the dependencies.
# Create and change to the app directory.
WORKDIR /usr/src/app

# Copy application dependency manifests to the container image.
# A wildcard is used to ensure both package.json AND package-lock.json are copied.
# Copying this separately prevents re-running npm install on every code change.
COPY package*.json ./

# Install production dependencies.
RUN npm install --only=production

# Copy local code to the container image.
COPY . .

The last step is to write the command for running the application. We use the CMD command to do that:
# Run the web service on container startup.
CMD [ "npm", "start" ]
The primary purpose of CMD is to tell the container which command it should run when it is started. With that, our Dockerfile is now ready.
Google Cloud container registry
Before you can push or pull images, you must configure Docker to use the gcloud command-line tool to authenticate requests to Container Registry. To do so, run the following command (you are only required to do this once):
gcloud auth configure-docker
Build a docker image
Create a directory to store your docker image files.
mkdir helloworld-nodejs && cd helloworkd-nodejs
To containerize the sample app, create a new file named Dockerfile in the same directory as the source files, and copy the following content:
- The dockerignore file contains files which are not build in order to avoid interfering the image.
- The package.json file contains Nodejs specifications.
- The index.js code creates a basic web server which listens on port defined by PORT environment variable.
Let’s build the image:
docker build -t quickstart-image .
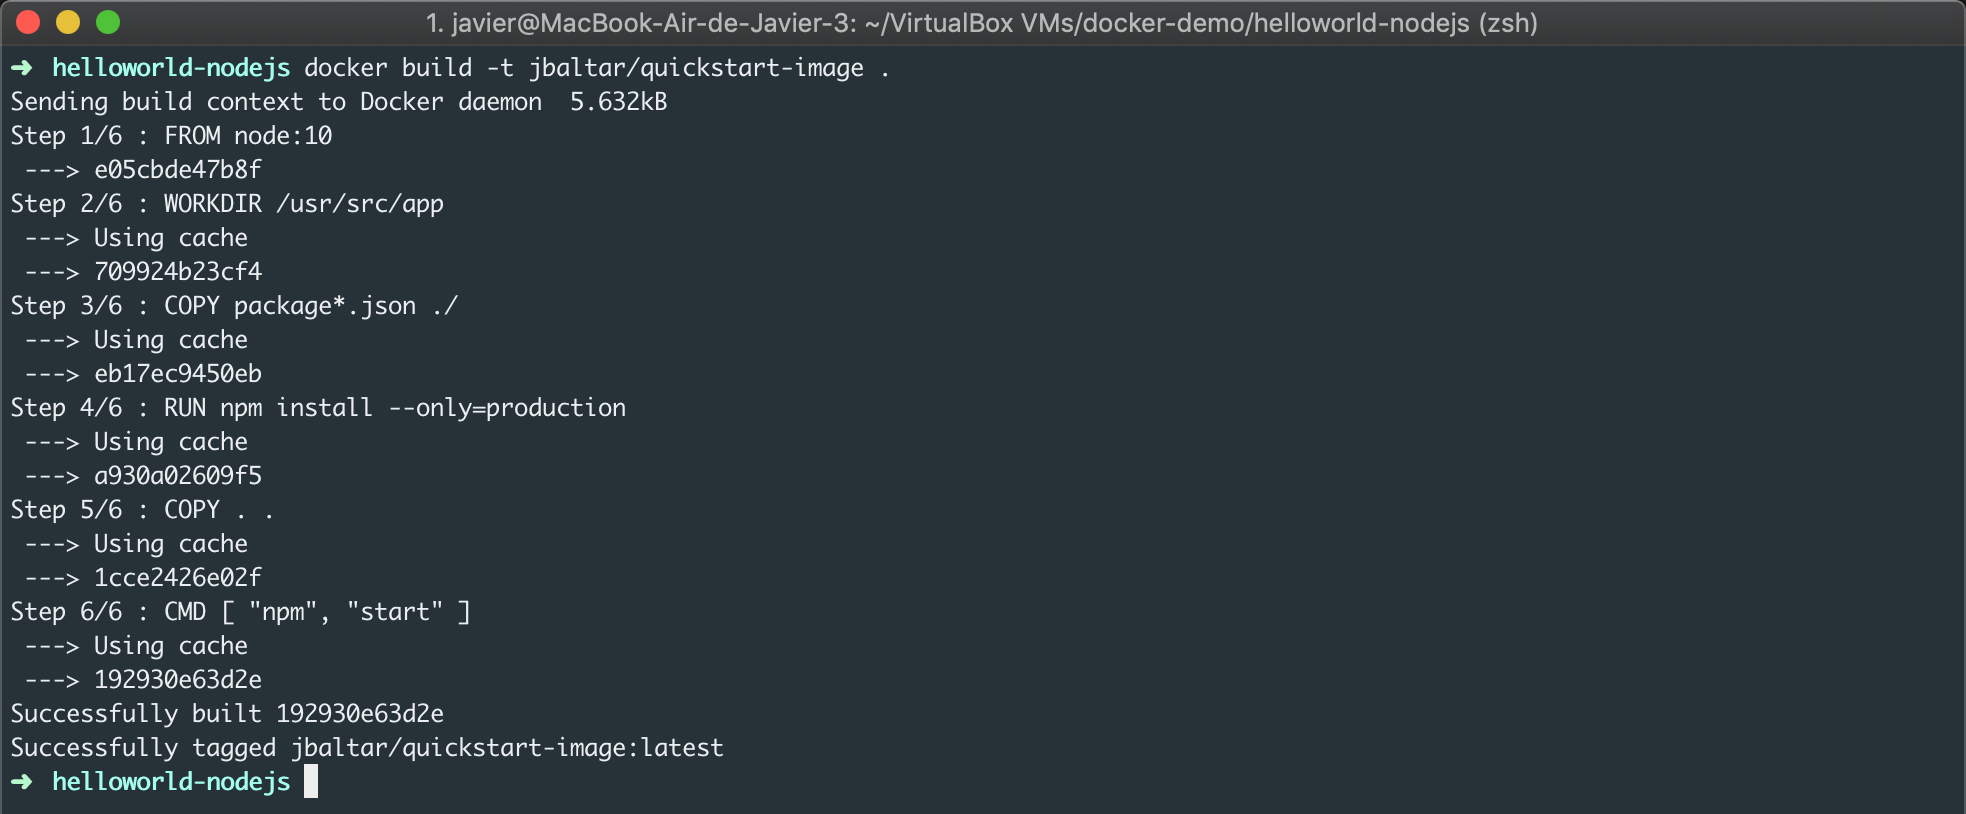
Before you push the Docker image to Container Registry, you need to tag it with its registry name. Tagging the Docker image with a registry name configures the docker push command to push the image to a specific location. For this quickstart, the host location is gcr.io. To tag the Docker image, run the following command:
docker tag quickstart-image gcr.io/[PROJECT-ID]/quickstart-image:tag
where:
- [PROJECT-ID] is your Google Cloud Platform Console project ID, which you need to add to your command.
- gcr.io is the hostname
- quickstart-image is the name of the Docker image
- tag is a tag you’re adding to the Docker image. If you didn’t specify a tag, Docker will apply the default tag latest.
You are now ready to push the image to Container Registry.
Push Docker images
Once docker has been configured to use gcloud as a credential helper, and the local image is tagged with the registry name, you can push it to Container Registry.
To push the Docker image, run the following command:
docker push gcr.io/[PROJECT-ID]/quickstart-image:tag

The image is added to your Container Registry.

Pull Docker images
To pull the image from Container Registry onto your local machine, run the following command:
docker pull gcr.io/[PROJECT-ID]/quickstart-image:tag
Running Docker containers on Cloud Run
Google Cloud Run provides a platform to quickly run and test your containers without much concern about configuring the infrastructure.
Go to Cloud Run console and click on Create Service:
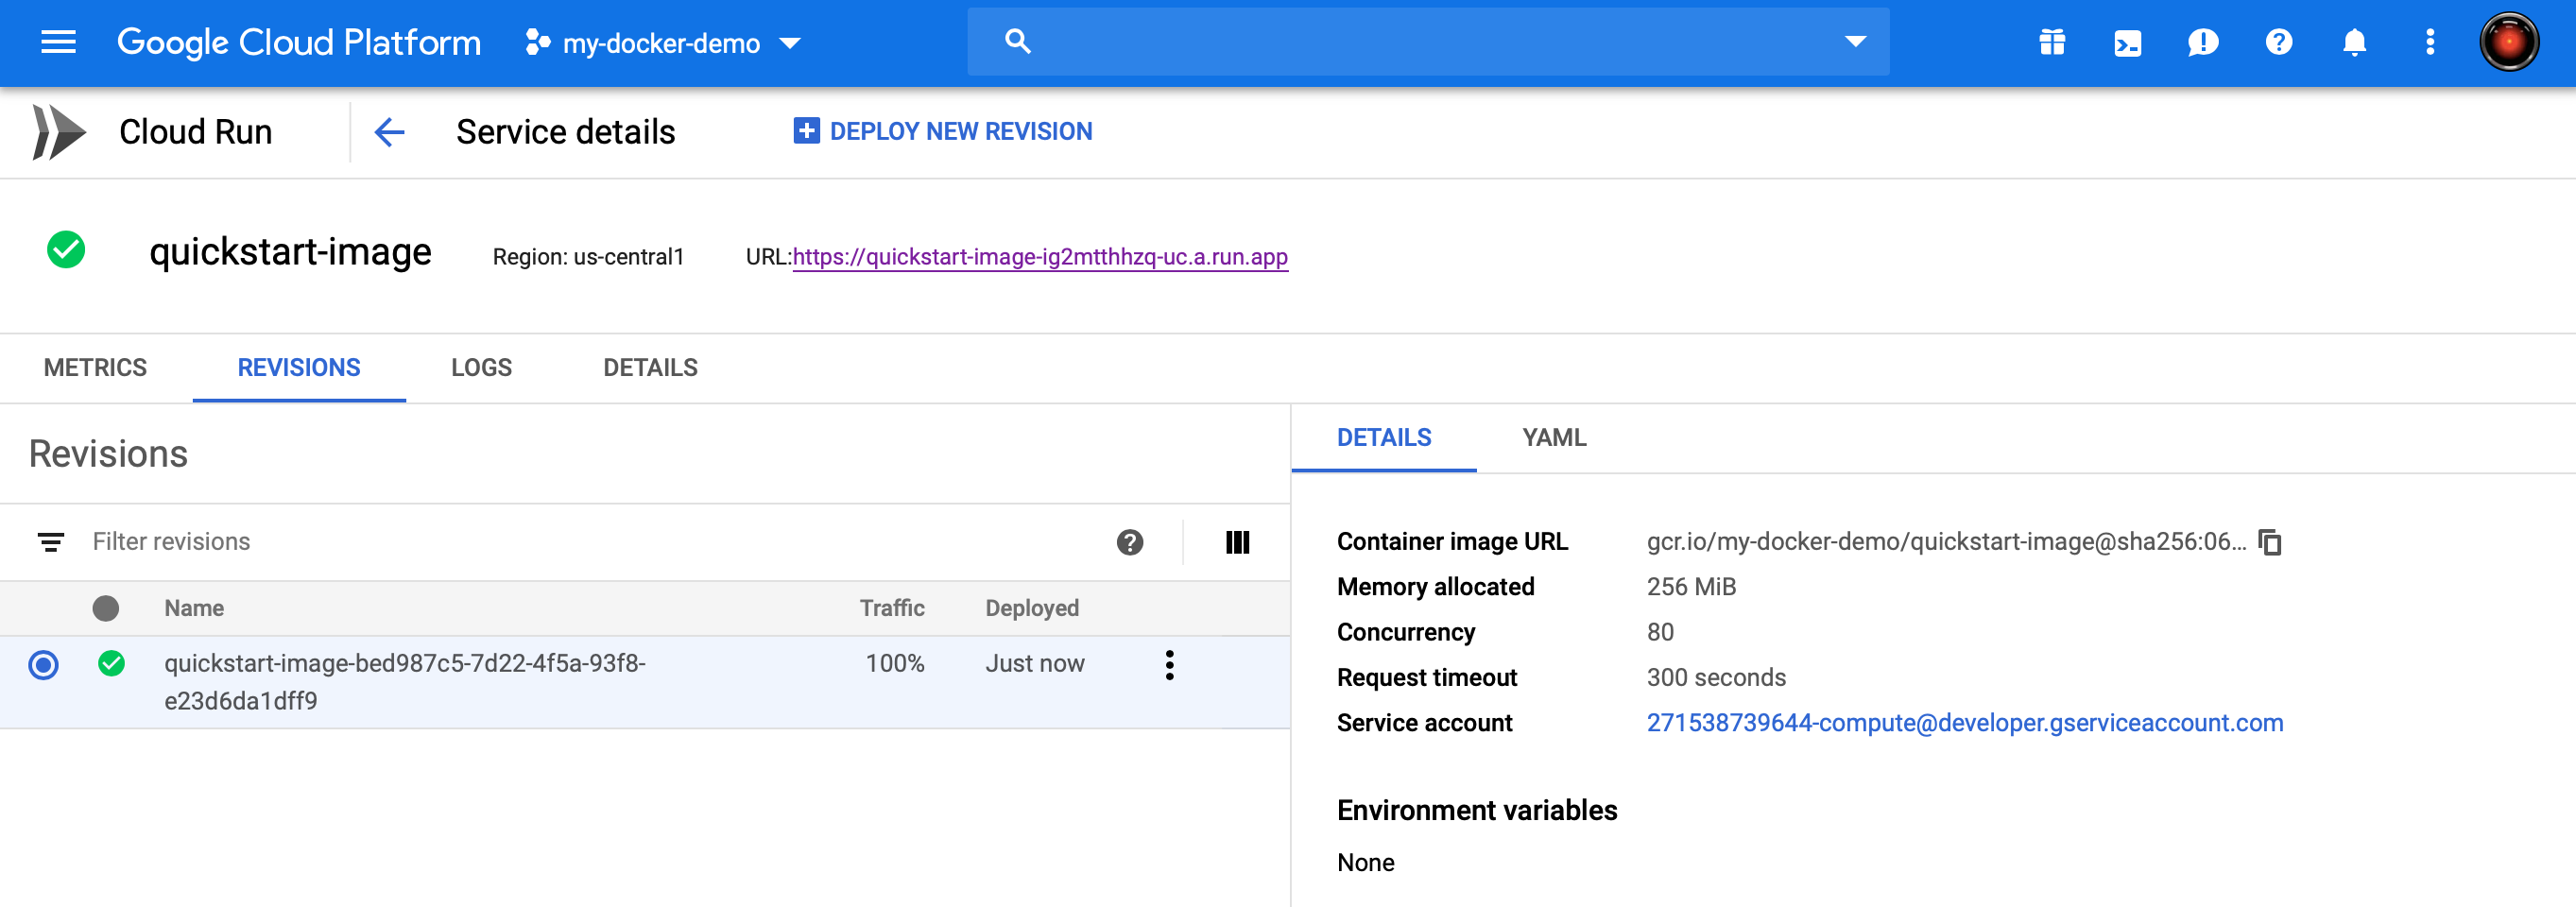
Choose the container image you have just created above and select a service name and location (at the moment of writing, only us-central1 is supported).
Click on Create.
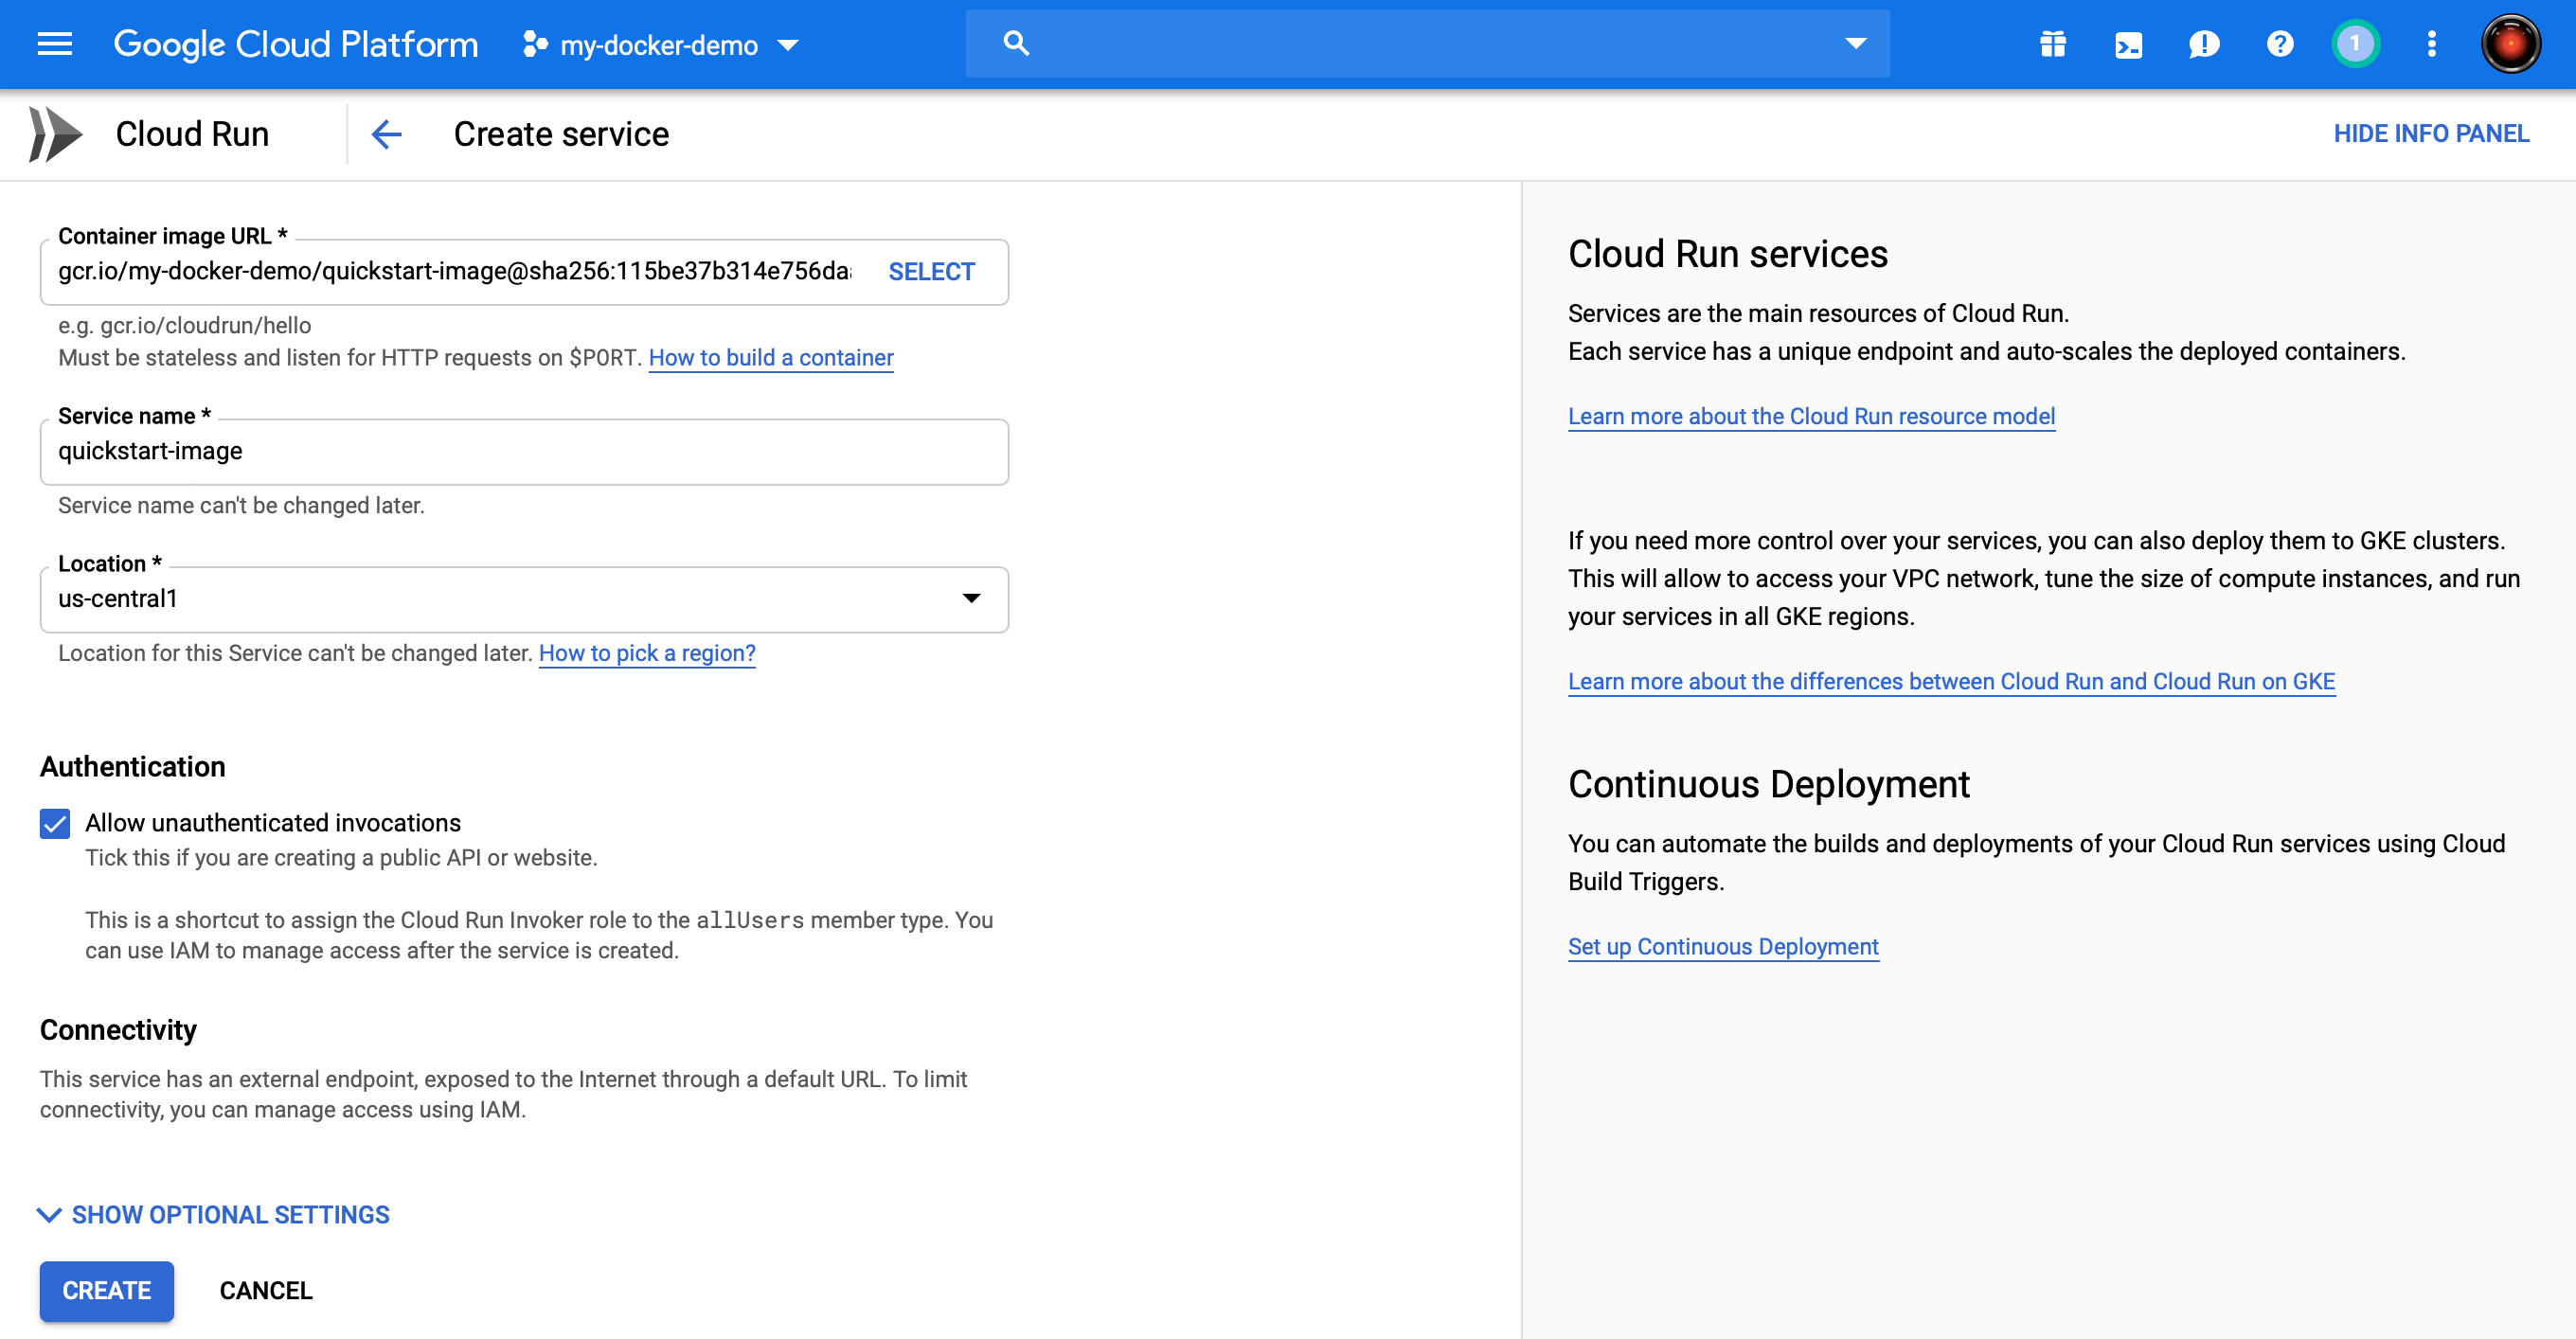
In few seconds, your service is ready and the public access URL is available.
Click on the URL and check that the application is working fine.
Delete Docker images
To avoid incurring charges to your GCP account for the resources used, run the following command to delete the Docker image from Container Registry.
gcloud container images delete gcr.io/[PROJECT-ID]/quickstart-image:tag --force-delete-tags
You can delete your images from the docker cli locally. First, list your images:
docker image ls --all
Choose an image and remove it performing the command below specifying the image id:
docker image rm 575518a94ae7 --force
Docker images vulnerability scanning
Google Cloud provides a mechanism for scanning your images when they are pushed to the registry. Please check the GCP Console for further details.
Docker on AWS
There are several ways to run Docker containers on AWS such as EKS, ECS and AWS Elasticbeanstalk. In this post, I will be focussing on AWS Elasticbeanstalk.
Docker Hub
Dockerhub is a public Docker images repository: https://hub.docker.com You can create your own registry and start sharing Docker images.
Before start using docker, you have to login entering your credentials.
Now, you can build your images as usual.
NOTE: You can also tag your image before pushing: docker tag IMAGE_NAME YOUR_DOCKERHUB_NAME/IMAGE_NAME
Pushing images to Dockerhub follows the same procedure completed for Google Cloud Container Registry.
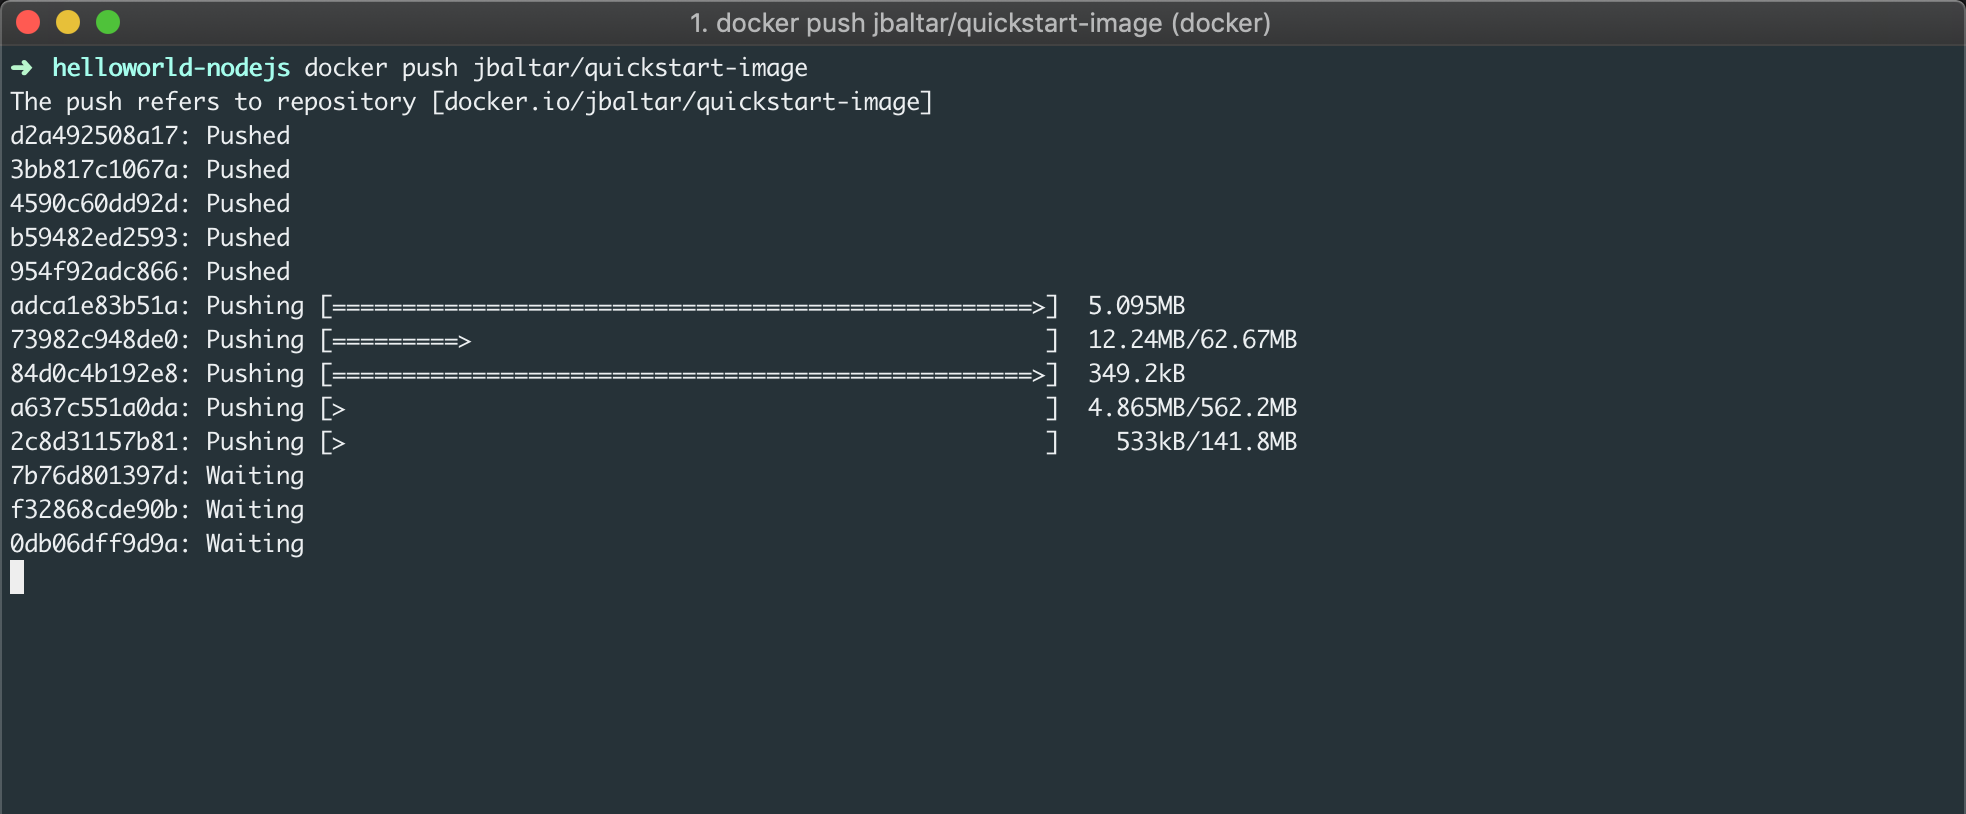
Your image is pushed to the repository.
Now that your image is online, anyone who has docker installed can play with your app by typing just a single command.
AWS Elasticbeanstalk
AWS Elastic Beanstalk is a PaaS (Platform as a Service) offered by AWS. It is similar to Heroku and Google App Engine. We are going to deploy a new application using our Hello World Docker image.
Click on Create New Application and choose a name. In the New Environment screen, create a new environment and choose the Web Server Environment. Fill in the environment information by choosing a domain. Under base configuration section, choose Docker from the predefined platform.
You have to tell Elasticbeanstalk where your application code is stored. In this case, we are creating a file which points to the Docker Hub repository image:
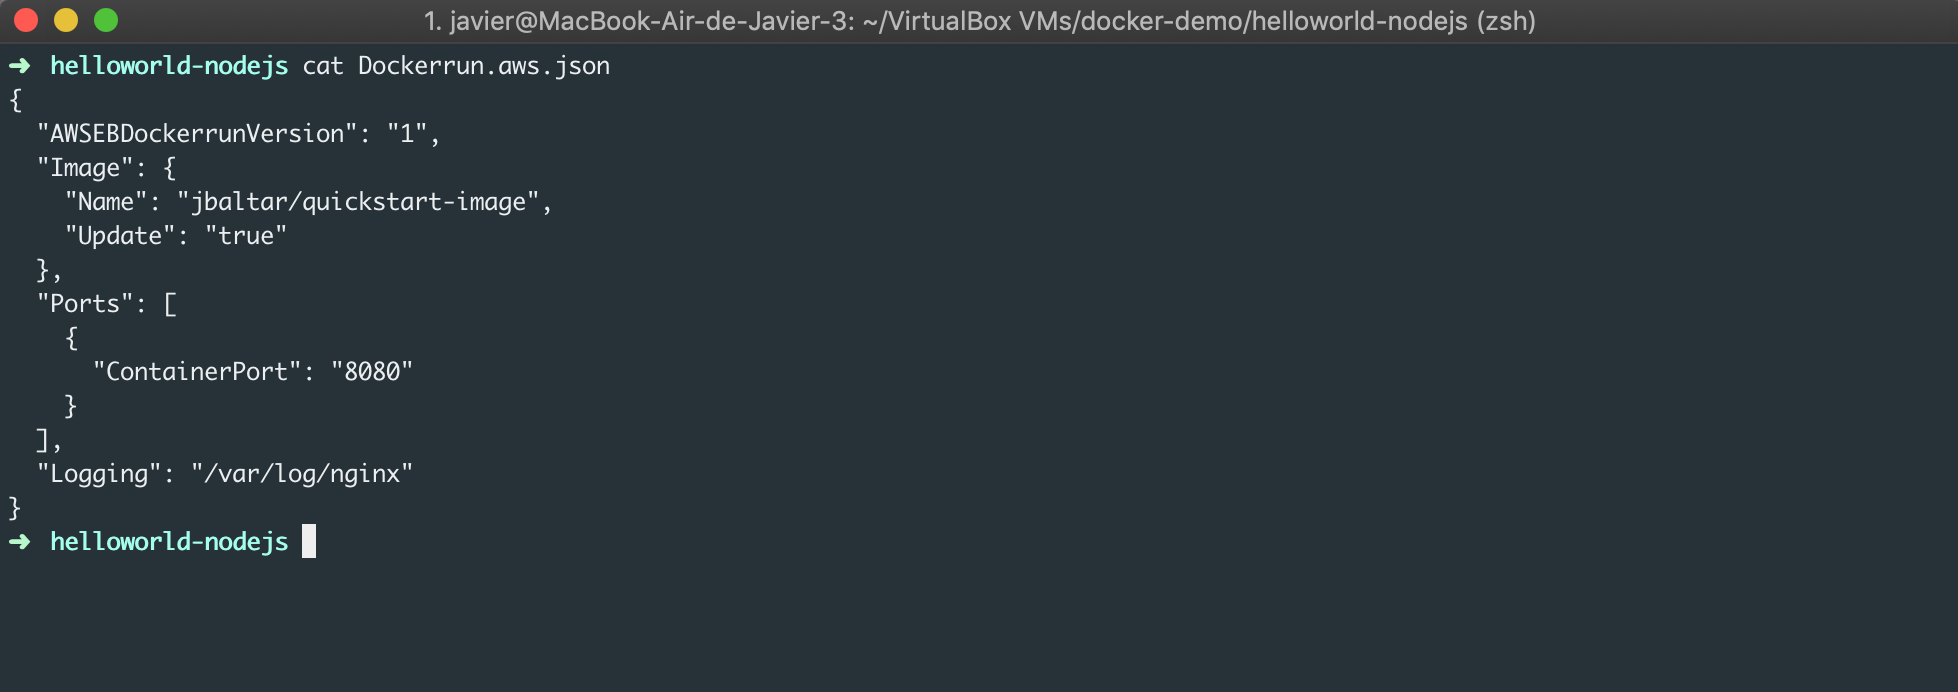
Upload the file described above. Click on Create environment. It takes some time to set up your application.
Once the application is OK, you can click on the URL and browse your app.
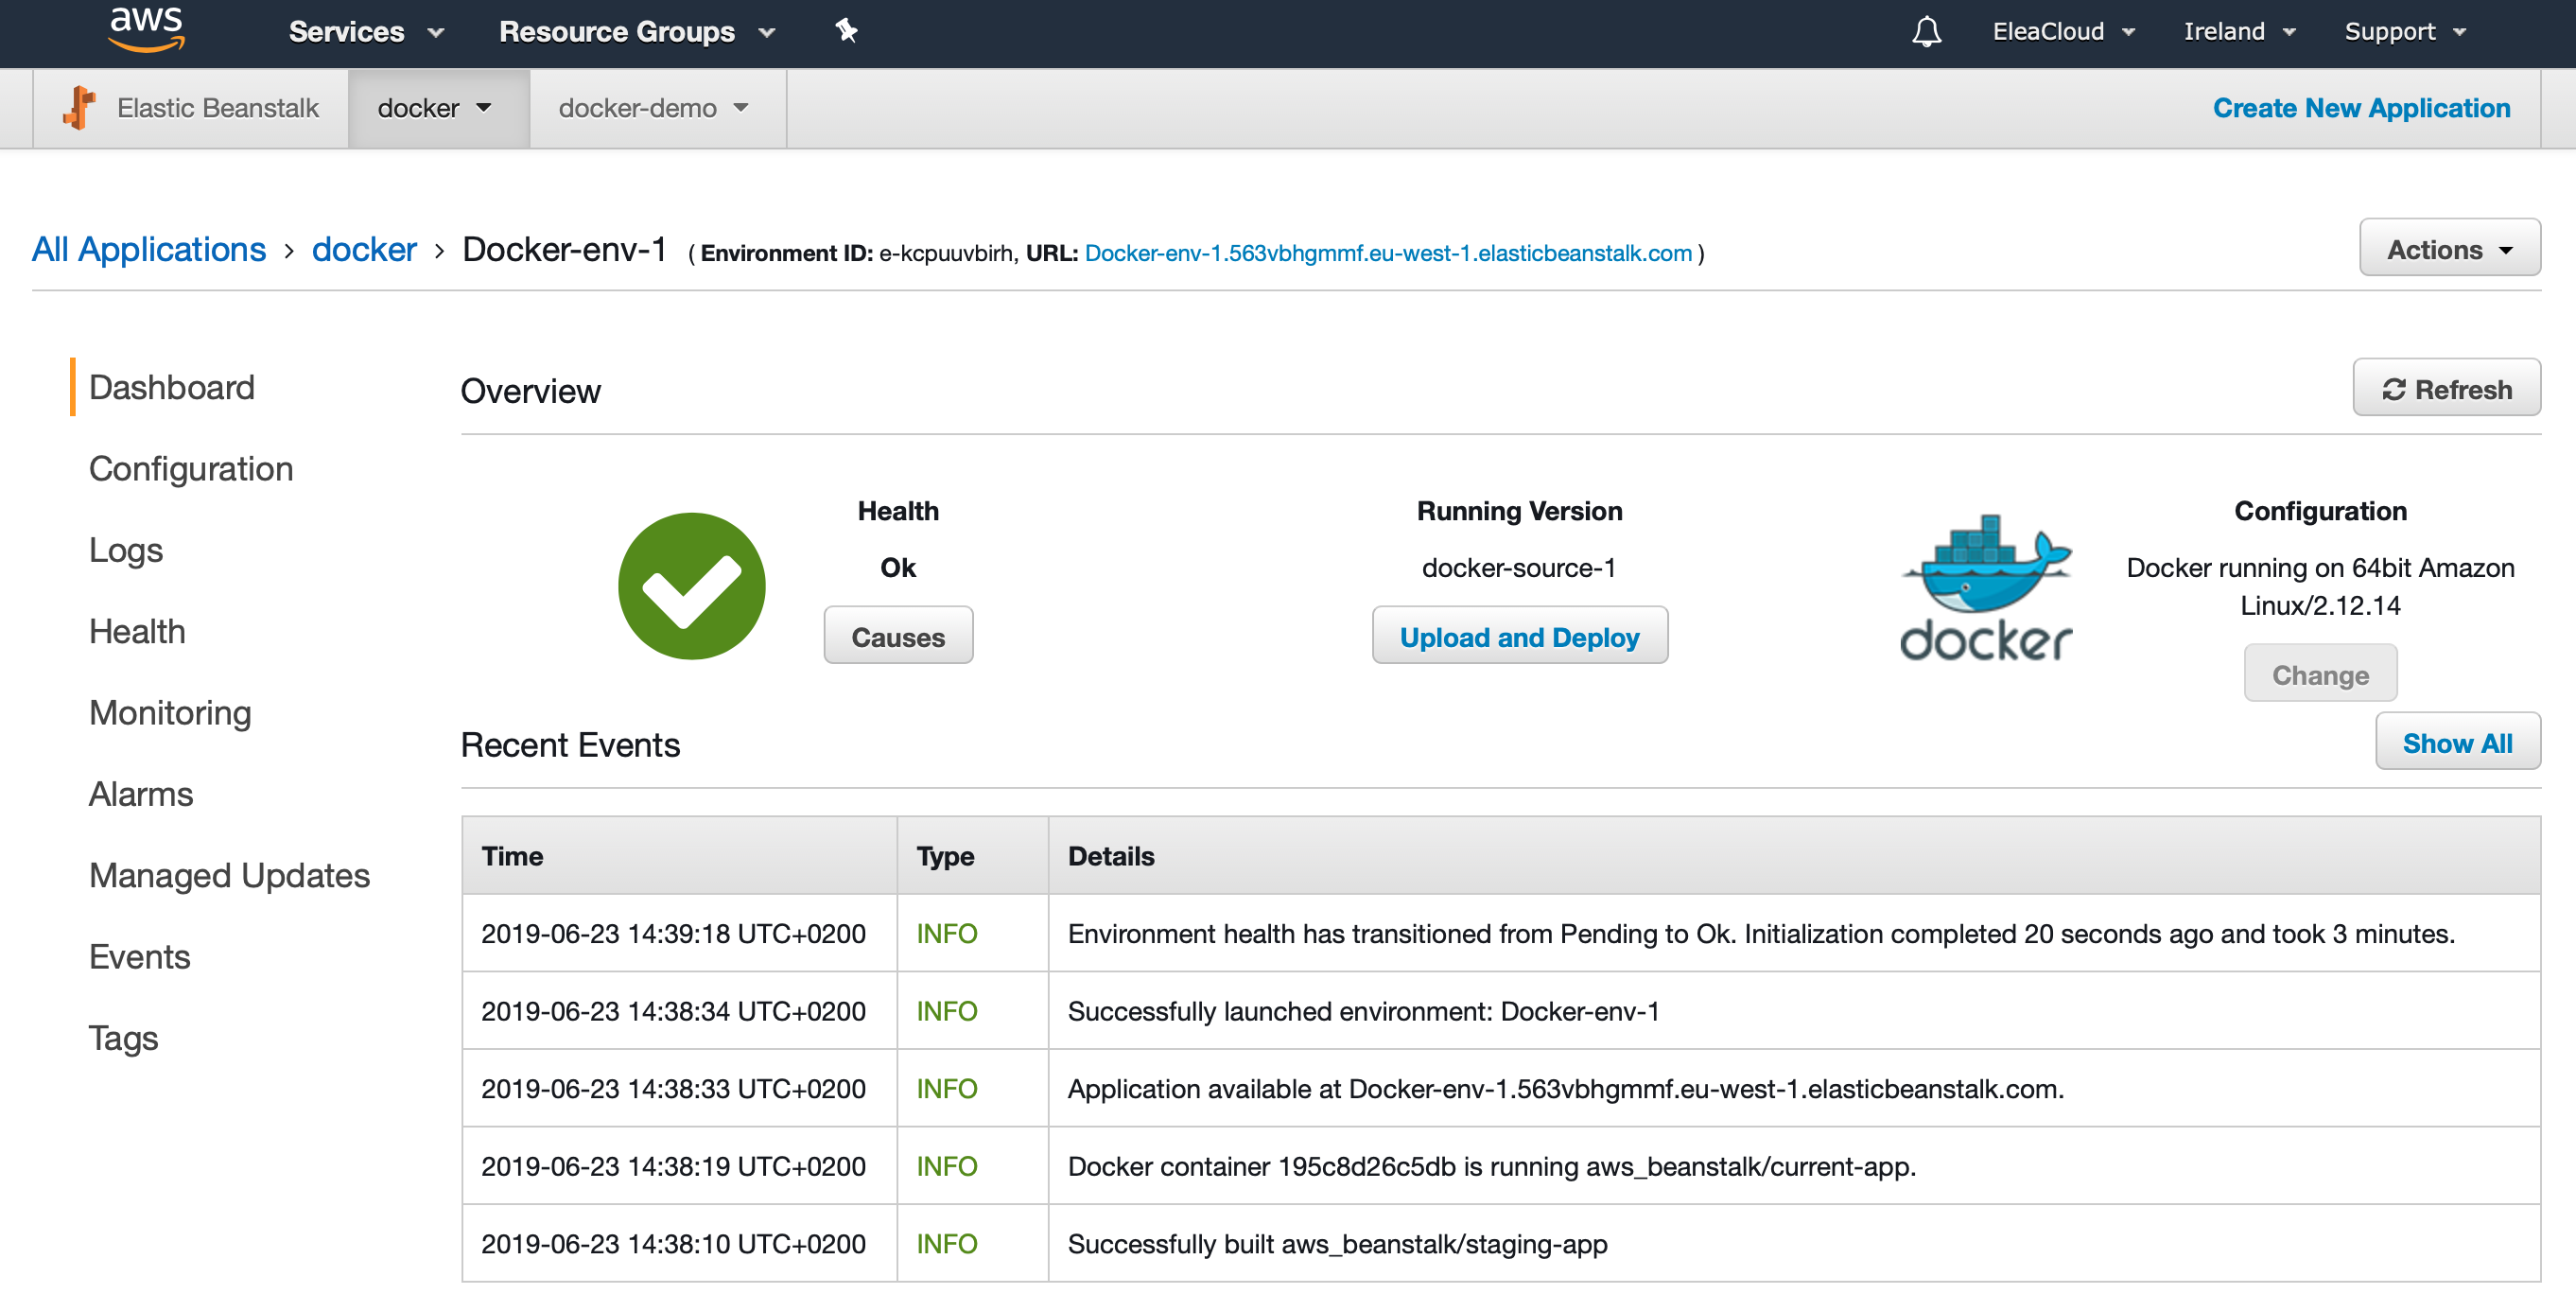
The “Hello World” message is displayed.
It is time to terminate the environment to avoid incurring on extra cost. Click on Actions > Terminate Environment